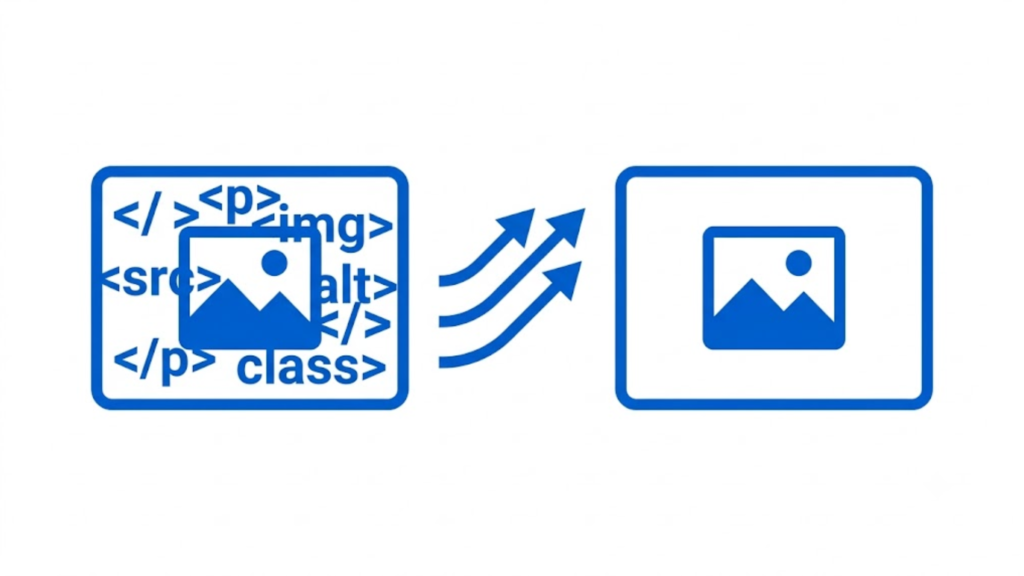
Converting an .ipynb file to HTML is straightforward with Jupyter’s nbconvert tool. The standard command creates a static HTML version of the notebook that can be opened in a web browser and shared without requiring Jupyter Notebook or JupyterLab. In current nbconvert releases, the explicit --to html option should be used because HTML is no longer the implicit default for the command-line exporter.
1. Install nbconvert
If nbconvert is not already installed, install it with pip:
pip install nbconvert
Conda users can install the same package with:
conda install nbconvert
The current nbconvert documentation lists both pip and conda as supported installation methods.
After installation, verify that the command is available:
jupyter nbconvert --version
If this prints a version number, you can convert the notebook from the command line.
2. Convert IPYNB to HTML
Open a terminal in the directory containing your notebook and run:
jupyter nbconvert --to html notebook.ipynb
Replace notebook.ipynb with the actual filename. For example:
jupyter nbconvert --to html data_analysis.ipynb
nbconvert uses the notebook’s base filename for the output, so data_analysis.ipynb becomes data_analysis.html in the current working directory. The HTML export is a static rendering of the notebook.
The original .ipynb file is not converted in place. The generated HTML is written as a separate output file, so your notebook remains unchanged.
3. Choose an HTML Template
The default HTML template in current nbconvert is lab, which produces a static page that is visually similar to the JupyterLab interface. You can choose another template when you need a different presentation.
Use the JupyterLab-style template:
jupyter nbconvert --to html --template lab notebook.ipynb
Use the classic Jupyter template:
jupyter nbconvert --to html --template classic notebook.ipynb
Use the basic template for a simpler HTML structure:
jupyter nbconvert --to html --template basic notebook.ipynb
For most notebook exports, the default lab template is sufficient. The classic and basic templates are useful when you need a simpler visual layout or compatibility with an existing presentation.
4. Execute the Notebook Before Exporting
Converting a notebook does not automatically mean that all cells are executed again. If you need the HTML file to contain freshly generated outputs, run nbconvert with --execute:
jupyter nbconvert --to html --execute notebook.ipynb
This executes the notebook and then exports the result to HTML. Execution can fail when a code cell raises an exception, so fix notebook errors before relying on an automated export. nbconvert also provides --allow-errors when you intentionally want conversion to continue after cell errors, although the resulting HTML will include the error output.
5. Embed Images Inside the HTML File
Notebook outputs can include charts, screenshots, and other images. If you need a more portable single HTML file, use:
jupyter nbconvert --to html --embed-images notebook.ipynb
The --embed-images option stores supported images as base64 data URLs inside the generated HTML instead of leaving them as separate image resources. This is useful when the HTML file needs to be moved or shared as a single file.
6. Save the HTML With a Specific Name or Location
Use --output to control the output filename:
jupyter nbconvert --to html notebook.ipynb --output report
This creates report.html. To place the output in another directory, combine --output with --output-dir:
jupyter nbconvert --to html notebook.ipynb --output report --output-dir ./html
This is useful in documentation builds, automated reporting, and scripts where the output path must remain consistent. nbconvert supports output and output-dir as command-line configuration options.
Common IPYNB-to-HTML Problems
If the jupyter nbconvert command is not found, install nbconvert in the Python environment you are actually using and make sure that environment is active.
If the HTML export opens but outputs are missing, check whether the notebook had saved outputs before conversion. For fresh results, use --execute and make sure the required kernel and project dependencies are installed.
If images are missing after moving the HTML file, use --embed-images to package images directly into the HTML where supported. Otherwise, keep the generated supporting files together with the HTML.
If a notebook depends on files such as CSV data, local images, or Python modules, remember that HTML conversion does not package those external dependencies into the notebook automatically. The generated HTML represents the notebook’s rendered content; it does not turn the notebook into a self-contained application.
Conclusion
The direct command to convert an IPYNB file to HTML is:
jupyter nbconvert --to html notebook.ipynb
Use --template lab, --template classic, or --template basic when you need a different HTML presentation. Use --execute when the notebook must be run before export, --embed-images when images should be included inside the HTML, and --output or --output-dir when you need control over the generated file. These options cover the standard IPYNB-to-HTML workflow with Jupyter nbconvert.
More Guide On HTML
Are Html And Css Programming Languages
Do My Html Homework
How To Add Alt Tags To Images In Html
How To Create Multiple Web Pages In Html
How To Import An Html File Into Excel
How To Integrate WordPress Blog Into Html Website
How To Link A Css File To An Html File
How To Make More Than One Page In Html
How To Put An Image Beside Text In Html
How To Put Text Under An Image In Html
How To Write A Paragraph In Html